Forgot Your iPhone Passcode? Understanding the Only Path to Regain Access
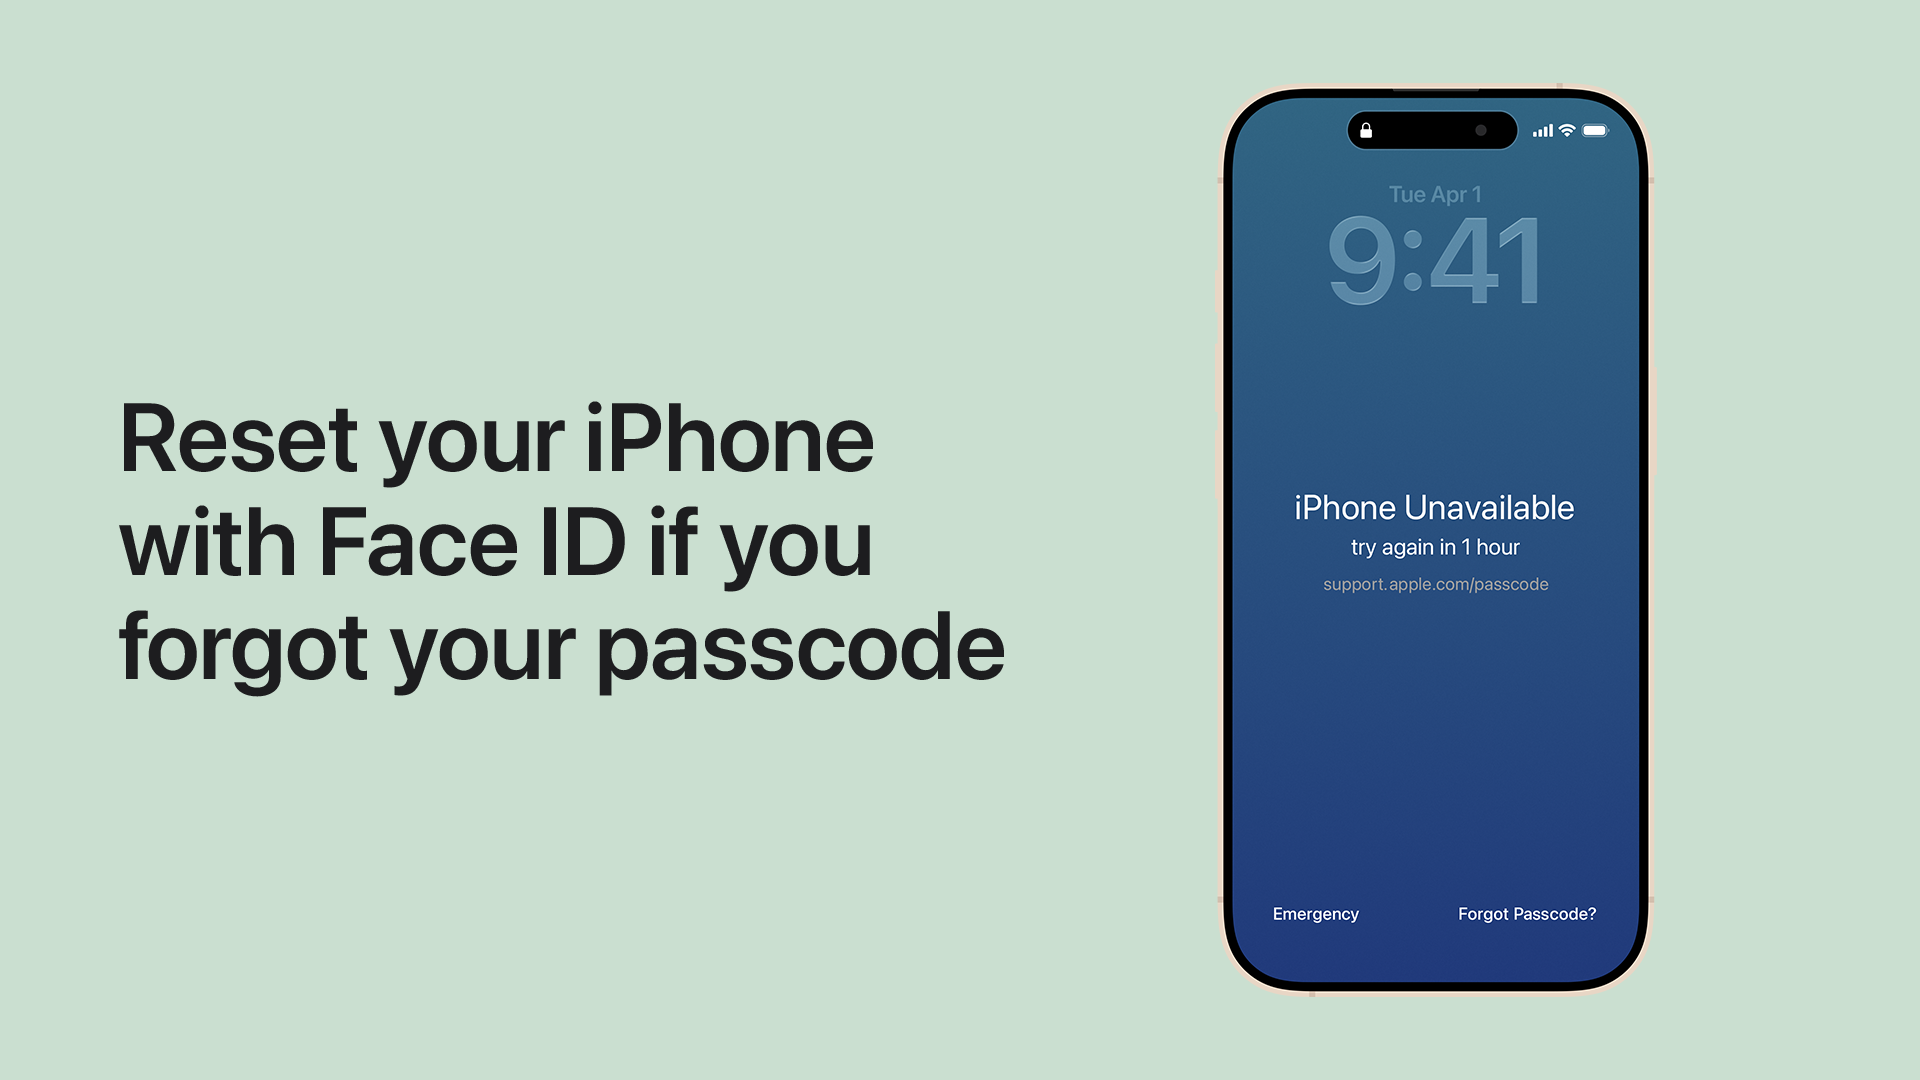
There's a scenario many iPhone, iPad, and even MacBook users dread: forgetting a crucial passcode. Perhaps your phone was in your pocket, mistakenly entering incorrect codes until it locked you out, or maybe a number just slipped your mind. The frustration is immense, especially when your device displays "iPhone Unavailable" or "Security Lockout," prompting you to wait minutes, hours, or even days. You've tried every possible combination, but nothing works, and you have important information you desperately want to access.
If you find yourself in this predicament, desperately searching for a "reset iPhone passcode without losing data" solution, we're here to deliver a clear, albeit challenging, truth: there is no secret back door or magical bypass to reset your iPhone passcode without erasing the device. Apple's robust security protocols, designed to protect your sensitive data from unauthorized access, mandate that the only way to remove a forgotten passcode is to wipe the device clean and restore it to factory settings. While this might sound daunting, especially if you have crucial data, with proper preparation, you can safely erase and restore your device, often without losing a single photo or contact.
The Inevitable Truth: Erase and Restore Your Device
The core principle behind Apple's security for its mobile devices, including the iPhone and iPad, is that the passcode is inextricably linked to the encryption of your data. If the passcode is forgotten, the system assumes an unauthorized attempt to access the device. To maintain the integrity of your personal information, the device must be erased. This process deletes all data and settings, including the forgotten passcode, effectively giving you a clean slate.
While this sounds drastic, it's a necessary security measure. Imagine if there were an easy way to bypass the passcode; anyone could gain access to your emails, photos, banking apps, and personal conversations. This secure design is precisely why Apple devices are trusted by millions. The good news is that if you've been diligently backing up your device, this "erase and restore" procedure is merely a temporary inconvenience, allowing you to regain full functionality and recover your precious data.
Preparing for the Reset: The Crucial Role of Backups
Before you proceed with erasing your iPhone or iPad, understanding the critical role of backups cannot be overstated. A recent backup is your lifeline to recovering your apps, photos, messages, settings, and other important data. Without a backup, erasing your device means losing everything that wasn't synced to cloud services like iCloud Photos or Contacts.
iCloud Backup
Many users have iCloud Backup enabled automatically, especially when their device is connected to Wi-Fi, charging, and locked. This is the most convenient way to keep your data safe. To check if you have an iCloud backup, or if you can potentially make one before your device becomes completely locked out (e.g., if you still have a few tries left or if it's only displaying "iPhone Unavailable" for an hour), you would typically go to Settings > [Your Name] > iCloud > iCloud Backup. If you've been regularly backing up, this will be your primary method for data restoration.
Computer Backup (iTunes/Finder)
Alternatively, you might have backed up your device to a computer using iTunes (on Windows PCs or older MacBook models) or Finder (on macOS Catalina or later MacBook, iMac, Mac mini models). A key advantage here is that if your iPhone was previously connected to and trusted by your computer, you *might* still be able to create one last backup even if the device is currently passcode-locked, as long as it hasn't entered "Security Lockout" mode requiring a passcode to connect. This is a rare but valuable window of opportunity. For more comprehensive information on securing your data, be sure to read our detailed guide on Secure Your Data: The Crucial Role of iPhone Backups and Restores.
Step-by-Step: How to Erase Your iPhone and Remove the Passcode
The method you use to erase your device largely depends on its current state and whether you have access to a computer. The goal is to put your iPhone or iPad into recovery mode or use Apple's Find My service.
1. Using Recovery Mode (Most Common Method)
This method is typically used when your device is completely locked out or unresponsive. It requires a computer (PC or MacBook) with iTunes or Finder installed.
- Prepare Your Computer: Ensure your computer has the latest version of iTunes (for Windows) or macOS (for Mac, where Finder handles device management). Disconnect all other USB devices except your keyboard and mouse to prevent conflicts.
- Enter Recovery Mode:
- For iPhone 8 or later (including iPhone SE 2nd and 3rd gen): Press and quickly release the Volume Up button. Press and quickly release the Volume Down button. Then, press and hold the Side button until you see the recovery mode screen.
- For iPhone 7 or iPhone 7 Plus: Press and hold both the Volume Down button and the Side (or Top) button at the same time. Keep holding them until you see the recovery mode screen.
- For iPhone 6s or earlier (including iPhone SE 1st gen): Press and hold both the Home button and the Side (or Top) button at the same time. Keep holding them until you see the recovery mode screen.
- Connect to Computer: While holding the correct button (as per step 2), connect your iPhone to your computer with a genuine Apple-certified USB cable. Keep holding the button until you see the recovery mode screen on your iPhone, which usually displays a computer icon and a cable.
- Restore Your iPhone: On your computer, iTunes or Finder will detect an iPhone in recovery mode. You will see an option to "Restore" or "Update." Choose Restore. Confirm the action when prompted. Your computer will download the latest iOS software and erase your device.
- Set Up Your Device: Once the process is complete, your iPhone will restart to the "Hello" screen, just like a new device. You can then proceed to set it up and restore from your most recent backup.
Troubleshooting Tip: If you encounter difficulties connecting your iPhone to your Windows PC, ensure you are using a certified Lightning cable and check your USB ports. For a comprehensive guide, refer to Fix iPhone Not Connecting to Windows PC: A Complete Guide.
2. Using Find My iPhone/iPad (If Enabled and Online)
This method is ideal if your device has an active internet connection and "Find My" was enabled before it was locked. You don't need to physically connect your device to a computer.
- Access Find My: Go to icloud.com/find on a web browser (from any computer or another Apple device, like an iPad or MacBook) and sign in with your Apple ID and password.
- Select Your Device: Click "All Devices" at the top, then choose your locked iPhone or iPad from the list.
- Erase Device: Click "Erase iPhone" (or "Erase iPad"). Confirm your decision. This will remotely wipe your device, removing the passcode and all data.
- Set Up Your Device: Once erased, your device will return to the "Hello" screen, and you can set it up as new, restoring from a backup.
3. Erasing via Computer (If Recently Trusted)
This is a less common scenario but can be useful. If your iPhone or iPad was recently connected to and trusted by your computer, and it hasn't entered a full "Security Lockout" state (i.e., it still shows "iPhone Unavailable" with a countdown), you might be able to connect it. iTunes/Finder might recognize it and allow you to initiate a restore without entering recovery mode first. However, if the device specifically asks for a passcode on the computer screen to proceed, this method won't work, and you'll need to use recovery mode.
Restoring Your Data After the Reset
Once your iPhone or iPad has been erased and is back to the "Hello" screen, the setup process is straightforward:
- Follow On-Screen Prompts: Select your language and region.
- Connect to Wi-Fi: Join a Wi-Fi network.
- Set Up Face ID/Touch ID & New Passcode: This is a crucial step! Choose a new, memorable passcode immediately.
- Apps & Data Screen: On the "Apps & Data" screen, you will be presented with options to restore your data:
- Restore from iCloud Backup: Choose this if you backed up to iCloud. Sign in with your Apple ID, and select the most recent backup.
- Restore from Mac or PC: Choose this if you backed up to your computer. Connect your device to the computer, and then select your device in iTunes/Finder to restore from the backup there.
- Complete Setup: Continue following the prompts to finish setting up your device. It may take some time for all apps and data to download, especially if restoring from iCloud.
What if You Don't Have a Backup?
If you forgot your iPhone passcode and do not have a recent backup, the unfortunate reality is that your data will be lost. Erasing the device will wipe everything, and without a backup, there's no way to recover it. This is a tough lesson, but it underscores the absolute importance of regular backups. Moving forward, make it a habit to use iCloud Backup or regularly back up to your computer. Consider setting up automatic backups to avoid this painful situation in the future.
Forgetting your iPhone passcode is a frustrating experience, but it doesn't have to be a permanent lockout. By understanding Apple's security protocols and diligently using backups, you can safely erase your device and restore it to full functionality with minimal data loss. While the process requires erasing everything, it's a testament to the robust security designed to protect your personal information on your iPhone, iPad, and even your MacBook, ensuring your digital life remains private and secure.